flat tire TESLA MODEL X 2016 Owner's Manual
[x] Cancel search | Manufacturer: TESLA, Model Year: 2016, Model line: MODEL X, Model: TESLA MODEL X 2016Pages: 179, PDF Size: 4.3 MB
Page 133 of 179

Maintaining Tire Pressures
If you are not towing a trailer, keep tires
inflated to the pressures shown on the Tire
and Loading Information label, even if it differsfrom the pressure printed on the tire itself. The
Tire and Loading Information label is located
on the center door pillar and is visible when
the driver
Page 134 of 179

Inspecting and Maintaining TiresRegularly inspect the tread and side walls for
any sign of distortion (bulges), cuts or wear.Warning: Do not drive Model X if a tire is
damaged, excessively worn, or inflated to
an incorrect pressure. Check tires
regularly for wear, and ensure there are
no cuts, bulges or exposure of the ply/
cord structure.
Tire Wear
Adequate tread depth is important for proper
tire performance. Tires with a tread depth less
than 3 mm are more likely to hydroplane in
wet conditions and should not be used. Tires
with a tread depth less than 4 mm do not
perform well in snow and slush and should not
be used when driving in winter conditions.
Model X is originally
fitted with tires that have
wear indicators molded into the tread pattern. When the tread has been worn down to3.18 mm, the indicators start to appear at the
surface of the tread pattern, producing the
effect of a continuous band of rubber across
the width of the tire. For optimal performance
and safety, Tesla recommends replacing tires
before the wear indicators are visible.
Tire Rotation, Balance, and Wheel Alignment
Tesla recommends rotating the tires every
8000 km.
Unbalanced wheels (sometimes noticeable as
vibration through the steering wheel)
affectvehicle handling and tire life. Even with regular
use, wheels can get out of balance. Therefore,
they should be balanced as required.
If tire wear is uneven (on one side of the tire
only) or becomes abnormally excessive, check
the alignment of wheels.
Note: When replacing only two tires, always
install the new tires on the rear.
Punctured Tires
A puncture eventually causes the tire to lose
pressure, which is why it is important to check tire pressures frequently. Permanently repair
or replace punctured or damaged tires as
soon as possible.
Your tubeless tires may not leak when
penetrated, provided the object remains in the
tire. If, however, you feel a sudden vibration or
ride disturbance while driving, or you suspect a tire is damaged, immediately reduce your
speed. Drive slowly, while avoiding heavy
braking or sharp steering and, when safe to do so, stop the vehicle. Arrange to have Model X
transported to a Tesla, or to a nearby tire
repair center.
Note: In some cases, you can temporarily repair small tire punctures (under 6 mm) using
an optional tire repair kit available from Tesla.
This allows you to slowly drive Model X to Tesla or to a nearby tire repair facility.Warning: Do not drive with a punctured
tire, even if the puncture has not causedthe tire to
deflate. A punctured tire candeflate suddenly at any time.
Flat Spots
If Model X is stationary for a long period in
high temperatures, tires can form
flat spots.
When Model X is driven, these flat spots cause
a vibration which gradually disappears as the
tires warm up and regain their original shape.
To minimize
flat spots during storage, inflatetires to the maximum pressure indicated on the tire wall. Then, before driving, release airto adjust tire pressure to the recommended
levels.
Improving Tire Mileage
To improve the mileage you get from your
tires, maintain tires at the recommended tire
pressures, observe speed limits and advisory
speeds, and avoid:
Page 135 of 179

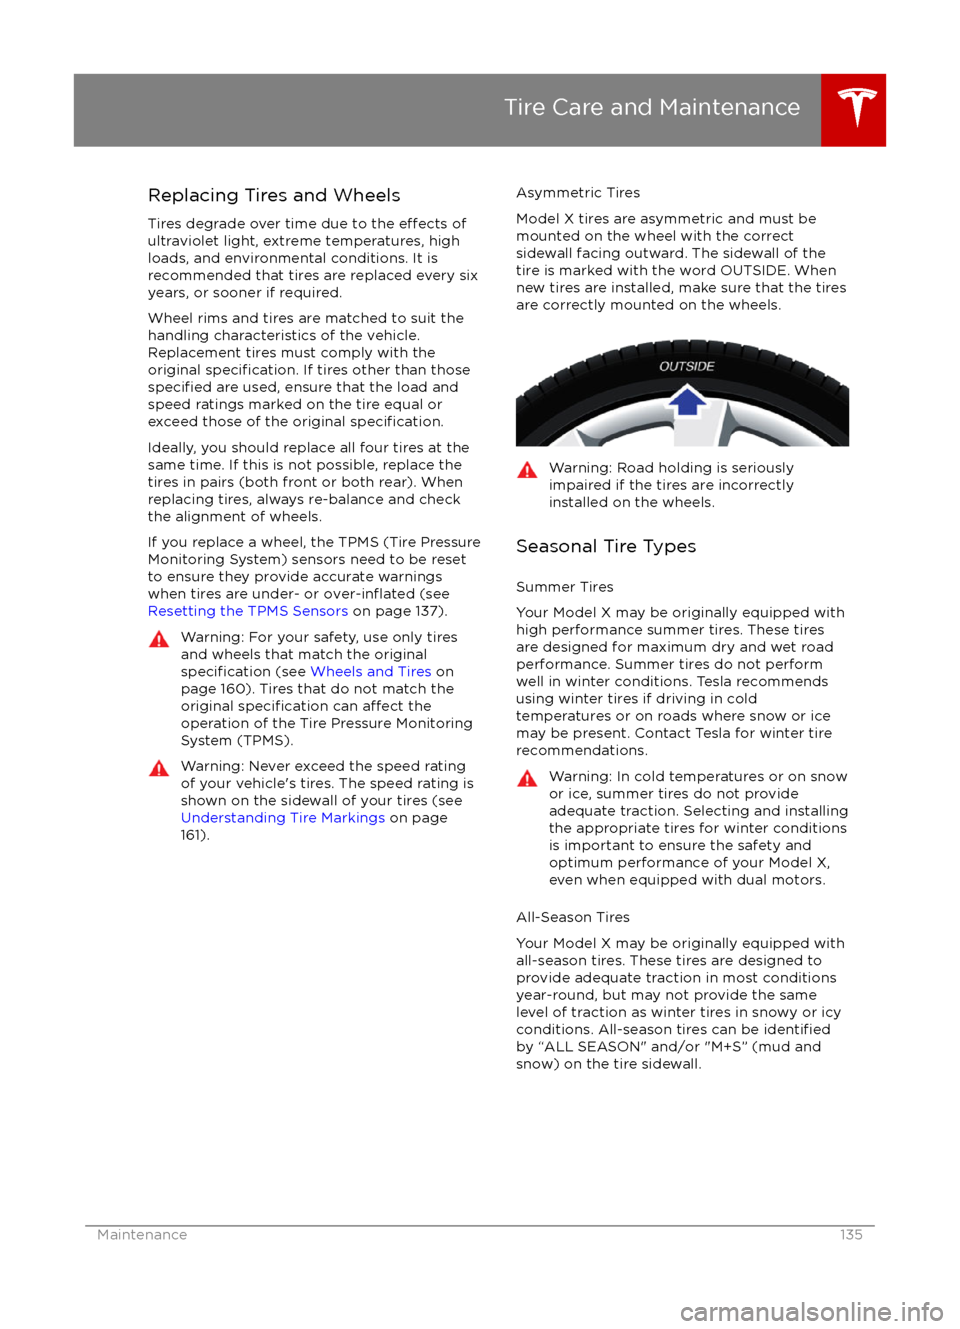
Replacing Tires and Wheels
Tires degrade over time due to the
effects of
ultraviolet light, extreme temperatures, high
loads, and environmental conditions. It is
recommended that tires are replaced every six
years, or sooner if required.
Wheel rims and tires are matched to suit the
handling characteristics of the vehicle.
Replacement tires must comply with the
original
specification. If tires other than thosespecified are used, ensure that the load and
speed ratings marked on the tire equal or
exceed those of the original
specification.
Ideally, you should replace all four tires at the same time. If this is not possible, replace the
tires in pairs (both front or both rear). When
replacing tires, always re-balance and check
the alignment of wheels.
If you replace a wheel, the TPMS (Tire Pressure
Monitoring System) sensors need to be reset to ensure they provide accurate warnings
when tires are under- or
over-inflated (see
Resetting the TPMS Sensors on page 137).
Warning: For your safety, use only tires
and wheels that match the original
specification (see Wheels and Tires on
page 160). Tires that do not match the
original
specification can affect the
operation of the Tire Pressure Monitoring System (TPMS).
Warning: Never exceed the speed rating
of your vehicle
Page 137 of 179

correct tire pressure, even if under- orover-inflation has not reached the level
for the TPMS to trigger the Tire Pressure
Warning on the instrument panel.
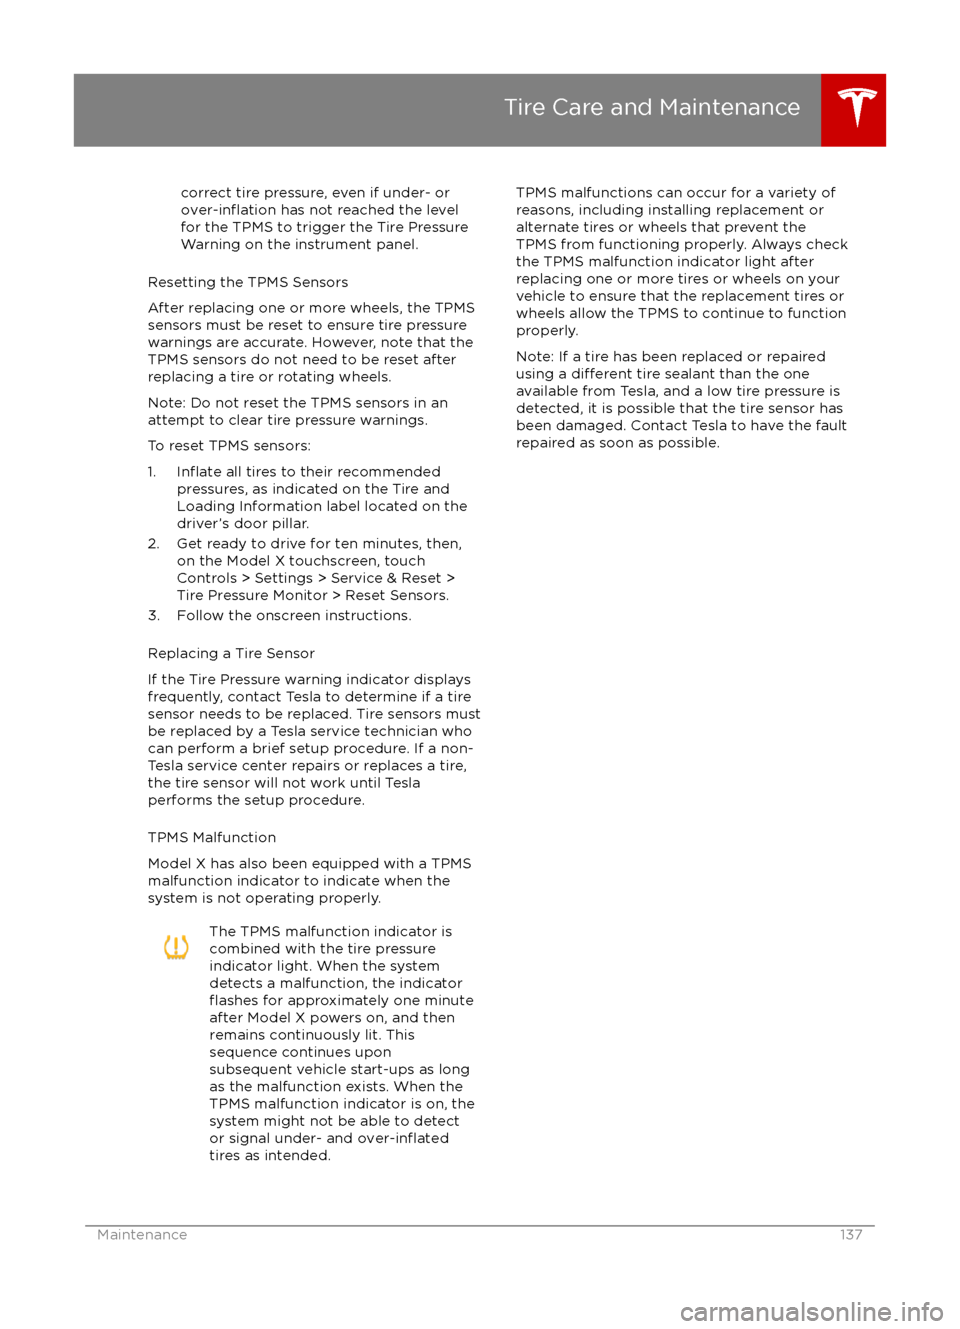
Resetting the TPMS Sensors
After replacing one or more wheels, the TPMS
sensors must be reset to ensure tire pressure
warnings are accurate. However, note that the
TPMS sensors do not need to be reset after
replacing a tire or rotating wheels.
Note: Do not reset the TPMS sensors in an attempt to clear tire pressure warnings.
To reset TPMS sensors:
1.
Inflate all tires to their recommended
pressures, as indicated on the Tire and
Loading Information label located on the
driver
Page 138 of 179

Tire Repair Kit
Your Model X has no spare tire. Depending on
the legislations that apply to the region in
which you purchased Model X, a tire repair kit
may or may not be included. If a tire repair kit
was not provided in Model X upon delivery,
you can purchase one from Tesla.
The tire repair kit consists of a compressor
and a canister of tire sealant (enough to repair
one tire). When injected into a tire, the sealant
can penetrate a small puncture up to 6 mm to form a temporary repair.
Note: For punctures larger than 6 mm, severe
tread damage, a damaged sidewall, ripped
tires or tires that have come
off the rim, call
Roadside Assistance.
Warning: The tire repair kit is a temporary
repair only. You must repair or replace a
damaged tire as soon as possible.Warning: Do not exceed 48 km/h when
driving with a tire that has been
temporarily repaired with sealant.Warning: Follow all directions and
warnings on the tire repair kit before
starting a repair.Caution: Do not drive on a deflated tire as
this can cause serious damage.Tire Sealant Canister
The tire sealant provided in the Tesla tire
repair kit is approved for use with Model X and is designed not to damage the TPMS (Tire
Pressure Monitoring System) sensors.
Therefore, you must replace it only with one of
the same type and capacity (see Replacing
the Sealant Canister on page 141). Tire
sealant canisters can be purchased from Tesla.
The tire sealant has an expiration date printed
on the outside of the canister. If the expiration
date has passed, the sealant might not work
as expected. Always replace an expired tire
sealant canister.Warning: Do not use any tire sealant
other than the one available from Tesla.
Doing so could cause tire pressure
sensors to malfunction.Warning: Always read and follow the
safety and handling instructions printed on the sealant canister.Warning: Keep tire sealant out of the
reach of children.Warning: Tire sealant can be harmful if it
contacts the eyes or if swallowed or
inhaled. If the sealant comes into contact with your eyes, immediately
flush with
water and seek medical attention if
irritation persists. If swallowed, do not
induce vomiting and seek medical assistance immediately. If inhaled, breathe
fresh air. Inhalation can cause drowsiness
and dizziness. If breathing is
affected,seek medical assistance immediately.
Temporary Tire Repair
138Model X Owner
Page 139 of 179

Inflating with Sealant and Air
If you have a Tesla tire repair kit, follow these
steps to temporarily repair a small tire
puncture (less than 6 mm).
1. Stop Model X in a safe place away from
traffic and ask passengers to wait in a safe
area.
2. Turn on the hazard warning
flashers to
alert other road users.
3. If possible, position the wheel with the puncture at the bottom.
4. Detach the power supply connector from
the back of the compressor and plug it
into the 12V power socket located on the
front of center console.
5. Release the clear plastic hose from the tire compressor.
6. Remove the red cap and screw the end of the hose onto the tire
Page 140 of 179

Inflating with Air Only
If you have a Tesla tire repair kit, follow these
steps to
inflate a tire with air:
1. Detach the power supply connector from the rear of the compressor and plug it into
the 12V power socket located in Model X
on the front of center console.
2. Release the black air hose from the compressor.
3. Attach the air hose to the valve and press the lever down to secure it in place.
4. Ensure the compressor is lying on a level
surface with the pressure gauge facing tothe side where you can read it.
5. To add air, turn on the compressor and
inflate until the desired pressure is
reached.
6. To release air, turn
off the compressor,
then press and hold the red button until
the desired pressure is reached.
Note: For your convenience, the tire repair kit
includes a selection of adapters that allow you to
inflate other items. These adapters are
located in a compartment on the back of the
compressor.
Caution: To avoid overheating, do not use
the compressor continuously for more
than eight minutes. Allow the compressor
to cool for 15 minutes between uses.Caution: The compressor runs slowly
when overheated from excessive use. Turn
it
off and allow it to cool.Temporary Tire Repair
140Model X Owner
Page 162 of 179

1Tire category. P indicates that the tire is for passenger vehicles.2Tire width. This 3-digit number is the width (in millimeters) of the tire from sidewall
edge to sidewall edge.3Aspect ratio. This 2-digit number is the sidewall height as a percentage of the tread
width. So, if the tread width is 205 mm, and the aspect ratio is 50, the sidewall height is 102 mm.4Tire construction. R indicates that the tire is of Radial ply construction.5Wheel diameter. This 2-digit number is the diameter of the wheel rim in inches.6Load index. This 2 or 3-digit number is the weight each tire can support. This number is
not always shown.7Speed rating. When stated, indicates the maximum speed (in mph) at which the tire can be used for extended periods. Q=99 mph (160 km/h), R=106 mph (170 km/h), S=112 mph (180 km/h), T=118 mph (190 km/h), U=124 mph (200 km/h), H=130 mph(210 km/h), V=149 mph (240 km/h), W=168 mph (270 km/h), Y=186 mph (300 km/h).8Tire composition and materials. The number of plies in both the tread area and thesidewall area indicates how many layers of rubber coated material make up the structure of the tire. Information is also provided on the type of materials used.9Maximum tire load. The maximum load which can be carried by the tire.10Maximum permissible inflation pressure. This pressure should not be used for normal
driving.11U.S. DOT Tire Identification Number (TIN). Begins with the letters DOT and indicates
that the tire meets all federal standards. The next 2 digits/letters represent the plant
code where it was manufactured, and the last 4 digits represent the week and year of
manufacture. For example, the number 1712 is used to represent the 17th week of 2012. The other numbers are marketing codes used at the manufacturer
Page 164 of 179

Use a Flatbed OnlyUse a
flatbed trailer only, unless otherwisespecified by Tesla. Do not transport Model X
with the tires directly on the ground.
Caution: Damage caused by transporting is not covered by the warranty.Caution: To transport Model X, follow the
instructions exactly as described next.
Disable Self-Leveling (air
suspension vehicles only)
If Model X is equipped with Smart Air
Suspension, it automatically self-levels, even
when power is
off. To prevent damage, you
must activate Jack mode to disable self-
leveling:
1. Touch Controls > Suspension on the touchscreen.
2. Press the brake pedal, then touch Very High to maximize height.
3. Touch Jack.
When Jack mode is active,
Model X displays this indicator
light on the instrument panel,
along with a message telling you
that active suspension is
disabled.
Note: Jack mode cancels when Model X is
driven over 7 km/h.
Warning: Failure to activate Jack mode on
a Model X equipped with Smart Air
Suspension can result in the vehicle
becoming loose during transport, which
may cause
significant damage.
Activate Tow Mode
Model X may automatically shift into Park
when it detects the driver leaving the vehicle,
even if it has previously been shifted into Neutral. To keep Model X in Neutral (which
disengages the parking brake), you must use
the touchscreen to activate Tow mode:
1. Shift into Park.
2. Press the brake pedal, then on the touchscreen, touch Controls > Settings >
Service & Reset > Tow Mode.When Tow mode is active, Model X
displays this indicator light on the
instrument panel, along with a
message telling you that Model X is
free-rolling.
Note: Tow mode cancels when Model X is
shifted into Park.
Caution: If the electrical system is not
working, and you therefore cannot release
the electric parking brake, attempt to
quick start the 12V battery. For
instructions, call Tesla. If a situation
occurs where you cannot disengage the
parking brake, use tire skids or transport Model X for the shortest possible distance
using wheeled dollies. Before doing so,
always check the dolly manufacturer
Page 176 of 179

D
dashboard overview 2
data recording 168
day mode 101
declarations of conformity 173
delivery mileage 168devicesBluetooth, playing audio files 113
connecting 114
playing audio
files from 113
dimensions 155
display brightness 101
dome (map) lights 48
door labels 152
Door Unlock Mode 4
doors 4
doors, opening 4
Drive gear 42
drive-away locking 9
driverprofiles 36
seat adjustment 18driver assistanceAuto Lane Change 82
Autopark 84
Autosteer 80
blind spot warning 86
collision avoidance assist 88
forward collision warning 88
overtake acceleration 75
overview 72
settings for 101
side collision avoidance 86
side collision warning 86
staying inside lane markings 86
Traffic-Aware Cruise Control 75
drivingseating position 18
starting 41
tips to maximize range 63
E
electric parking brake 55
emergency
flashers 52
energygained from regenerative braking 55
range information 43, 46
tips to minimize usage of 63
energy & charging setting 101
energy app 63
energy saving mode 63
Erase & Reset 104
event data recording 168
exteriorcar cover 144
cleaning 142exterior (continued)dimensions 155
lights 48
overview 3
polishing, touch up, & repair 144
F
factory defaults, restoring 104
factory reset 104
fan speed, interior 106
favorites, adding and removing 113
FCC
certifications 173
features, downloading new 123
firmware (software) updates 123flash drives, playing audio files from 113flashers, warning 52flat tire repair 138floor mats 144
fluidsreplacement intervals 132
reservoirs, checking 146
fog lights 48
forward collision warning 88
front passenger detection 34
front trunk 14
fusesremoving access panel 146
G
GAWR 153
gears 42
glove box 16
Gross Axle Weight Rating 153
Gross Vehicle Weight Rating 153
ground clearance 155, 156
GVWR 153
H hazard warning
flashers 52
head restraints 20
headlightsadaptive 51
after exit 51
high beams 51
heated wipers 53
heating 105
height adjustments (suspension)auto-raising 110
automatic and manual settings 111
disabling (Jack mode) 111
high beam headlights 51
high voltageBattery specifications 159
Index
176Model X Owner